.png)
My Research Project was to study the creation of trimsheets and the strategies that Environment artists employ to make this pipeline useful and efficient when tackling complex structures. I decided on recreating the Columbus Tower in San Francisco given that the architecture of this location gave way for easy implication of trimsheets.

I tackled this project by creating modular pieces that will display the geometry of the structure I was recreating. I wanted to keep my workflow as efficient and modular as possible with the exception of a few unique pieces in the architecture of the building.

I decided on creating my trimsheet in Substance Designer to get more practice and utility of this powerful program. I wanted to create a workflow that could easily be customizable and tweaked if I were to decide to change or edit the trims for my project.

I began on creating the panels and trims that will give the different patterns that I would need with creating my project.


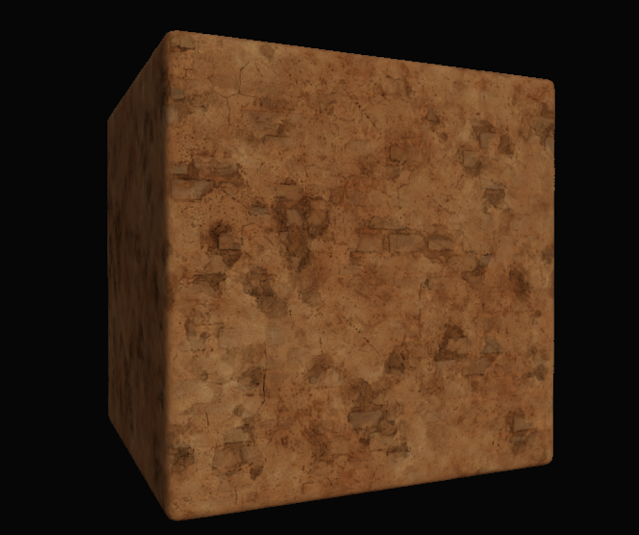
These nodes explain the different grunge maps and nodes used to create the oxidized bronze material that complemented the height map.

When creating my pipeline, I ran into an issue with mixing baked information with my trimsheet textures. I learned that I could have multiple UV sets that I can call in maya and Unreal and I used my first UV set as my trimsheet layer and the next one for my baked RGB mask texture information.

Once I created my trimsheet, I baked the textures of my high poly pieces to my game ready modular pieces in Substance Painter. In order to break up the symmetry or repetition of my trimsheet, I decided to use RGB masks. I did this by creating 3 different texture channels in substance that will represent the R,G,B channels of a packed texture map. Once I baked my pieces, I applied smart masks to get grunge masks that will cover the curvature and AO of the baked information that I can pull and use in Unreal for custom grunges. Above is an example of what all 3 grunge maps looked like.

I separated the RGB mask by color to show the coverage of the grunge across one of my pieces.

Here is the Material Blueprint setup showing the trimsheet base color map being blended up with the custom RGB mask.
Here is my custom material that applies my trim sheet and RGB masks to the mesh

Once I got a good result on my first trim sheet in engine. I proceeded to create an Alpha sheet for other miscelanous assets in the building.


I was able to create multiple versions of a window texture that I can switch choose from what I prefer.


Here is a closer look at the wooden material that I made that is referenced in the trimsheet as well.